How To Set Up Mailchimp as a New Blogger

If you’re a new blogger, you may be overwhelmed with how many different types of email marketing platforms there are available. This comprehensive guide will walk you through how to properly set up Mailchimp to start growing your email list the right way!
Here’s what you’ll learn after reading this post:
What is Mailchimp?
How to sign up for your free Mailchimp account
How to set up your Mailchimp account
Setting up your audience in Mailchimp
Customizing your audience
What Is Mailchimp?
Mailchimp is a marketing, automation and email platform. With this all-in-one marketing platform you can create sign up forms, grow your email list, send emails out to your email and set up automated email series.
In the simplest of terms it’s a bulk emailing platform allowing you to send customized emails out to your email list. But you’ll quickly find it’s so much more than a basic email tool.
Mailchimp provides you with so much more than contact management and email marketing. The real magic happens in the automation features like being able to schedule email series, segment your list, add tags and build customer journeys.
They also provide amazing data analysis so you can understand what is and isn’t working with your email list.
With over 300 integration options you can connect your Mailchimp account to your other platforms like Canva, Instagram, WooCommerce and Google Analytics.
2. Sign Up For Your Free Mailchimp Account
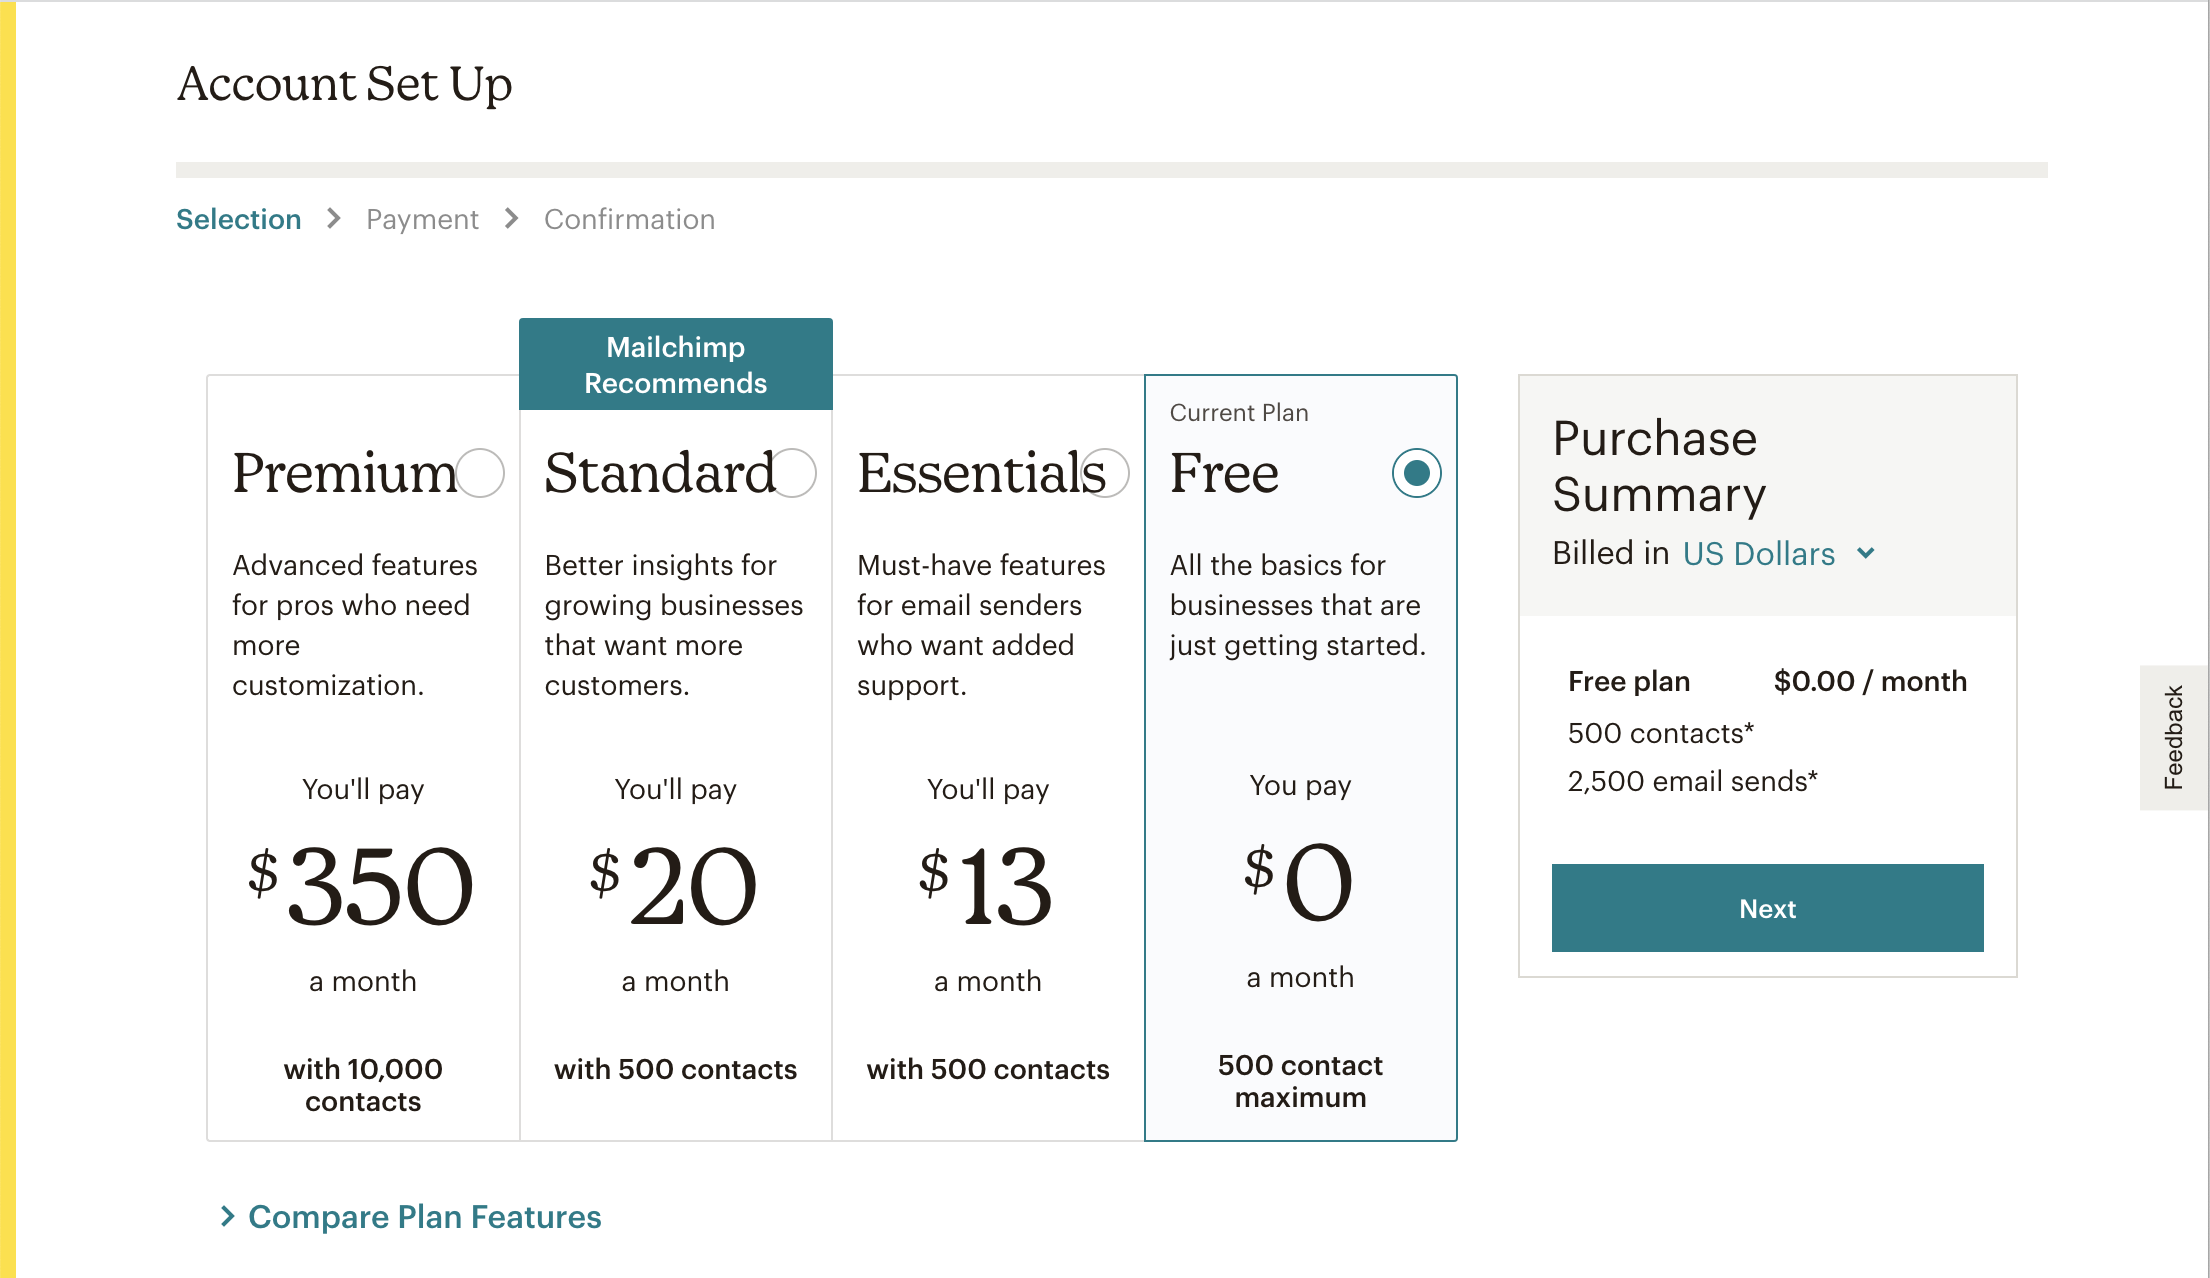
The first important decision you’ll make is which plan to sign up with. If you’re starting a new list you can get started with the Free Plan which provides up to 500 contacts and 2,500 email sends a month.
The advantage to signing up for the free plan is checking out the software and learning how to use it before financially investing.
However, if you are looking to get started with automated emails, series, and customer journeys right away, which I recommend, you’ll want to get started with at least the Essentials Plan.
One of the biggest advantages to using an email platform is being able to set up automated email series, like a welcome or nurture sequence.
While you can schedule individual emails to be sent out automatically on the free plan, you’ll need a paid plan if you want to send out a series of emails automatically when someone signs up for your list.
Don’t worry you can switch to a different plan at anytime if you need to choose a new plan.

To sign up select the plan you want and hit the button under it. Then simply fill in your Email, Username and Password and hit the Sign Up button. Sign up for a Mailchimp account.
3. Set Your Mailchimp Account Up
Now that you’ve signed up for your new Mailchimp account it’s time to get it set up!
Once you sign up you’ll be sent an email to activate your account. Mailchimp makes setting up your account super easy with step by step instructions.
Steps to setting up your account:

Click on the Activate Account button in your email from Mailchimp.
2. Your plan will be highlighted. Hit the next button. If you opted for a paid plan enter your billing information.

3. Enter your name, business name (can be your name) and phone number (optional). If you enter your phone number you’ll be given the option to allow Mailchimp to call you with special offers and services.

4. Enter your address. It’s important to note that due to anti-spam laws your address is required to be shown at the bottom of your emails. If you do not want to use your home address you may want to consider getting a P.O. Box for professional purposes.

5. Next you’ll be asked to select your top goal with Mailchimp.

6. Enter how many subscribers you have or if you’re just getting started.
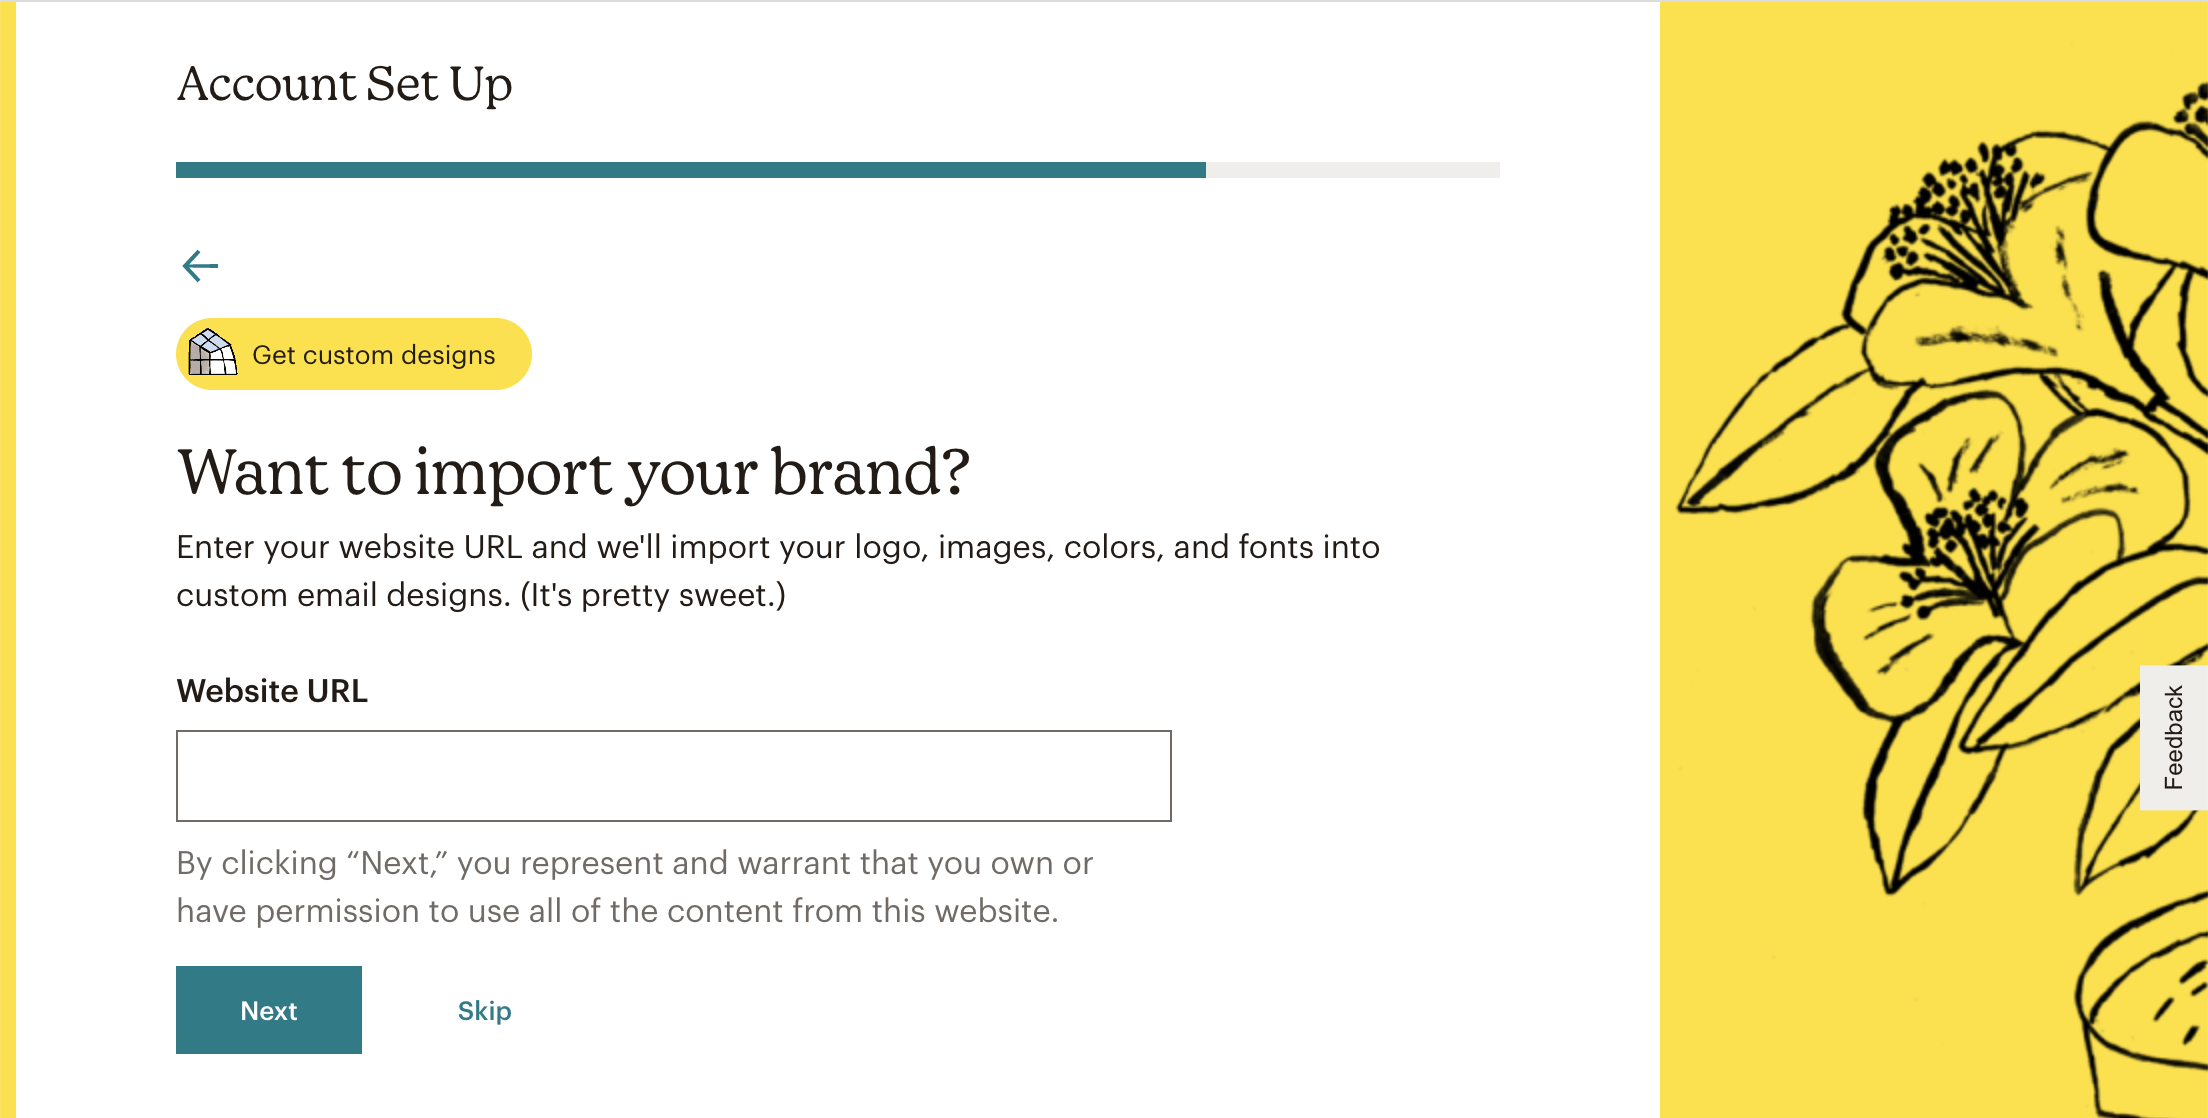
7. Add your website if you have one or skip.

8. Select emails you’d like to receive from Mailchimp.
Now that you’re account is set up it’s time to customize your audience settings and create an opt in form so you can start collecting emails!
4. Set Up Your Audience In Mailchimp
There’s a few key customizations to make when setting up your audience. But in order to customize your audience you need one first.
If you already have a list you can import it. Otherwise we will add your email to your list to get it started.
Adding Your Contacts:

From the home page to navigate to Audiences go to Contacts > Audience dashboard and click on the Add Your Contacts button.
If you already have subscribers you can import from another service, upload a file, or you can copy and paste from a spreadsheet.
If you don’t have a list yet choose the copy and paste option as we are going to get your list started with your own email!

Type your email, first name and last name into a spreadsheet, copy the three fields and then paste it into the form in Mailchimp. Next hit the Continue to Organize button.

Leave the Select a status: as Subscribed and hit the Continue to Tag button.

You can create a tag or you can add a tag later. When we create a sign up form we’ll create a tag so I wouldn’t worry about this right now.
Match any of the column labels as needed and hit the Finalize Import button.

Review and then hit the Complete Import button.

Now that you have a contact you can name your audience and customize it’s settings!
5. Customizing Your Audience:
From the home page to navigate to All contacts go to Contacts > All contacts.
Then in the horizontal navigation go to Settings > Audience name and defaults.

From here you can name your Audience and customize it.
Audience name and campaign defaults:
In the Audience name field type in your Audience name.

If you selected the free plan you only receive one audience, but naming it is a good idea especially if you upgrade later and add more audiences.
Be sure to check the box next to Send a final welcome email. We’ll talk more about this once we’ve created a sign up form for your email list.
Form Settings:
Next choose your Form Settings. You can choose to Enable double opt in and Enable reCAPTCHA. I recommend at least enabling the double opt in as this is best practice.

Campaign defaults:
Once you are finished customizing your settings scroll to the bottom of the page and hit the Save Audience and Campaign Defaults button.

As Mailchimp is such an important part of your blogging process, we have decided to break this blog post up into a mini-series!
How to set up Mailchimp as a new blogger (this post)
How to create a signup form in Mailchimp
How to create your first email campaign in Mailchimp
How to set up email automation using Mailchimp
Guest Blogger: Naomi Kathleen

Naomi Kathleen
Naomi is the owner of www.happilydwell.com. She helps new bloggers launch successful blogs through blogging, design and productivity tips. You can find her on Instagram or her Facebook Page where she teaches aspiring bloggers how to start their dream blog